Top-of-the-line automobiles are increasingly coming basic with tinted windows. Covered windows have useful advantages. They help protect the upholstery from sunlight, which could otherwise fade the fabric, and they also keep the interior cool. They add extra privacy inside the car, making it more difficult for a thief to look inside for any valuables.
You can replace the old windows with ready-tinted ones by purchasing them from your vehicle dealer. But doing this costs a lot of money and takes a lot of effort. Tinting the old windows is easier.
Table of Contents
Tinting Kits
These are offered by accessory stores in two different formats: as aerosol-can spray-on window tints or as sheets of plastic film that you adhere inside the windows.
The spray-on tint is more expensive, but it applies more quickly and, in most cases, produces superior results on curved windows. The drawback is that if you don’t apply the tint very evenly, you might end up with areas of bright and dark. Stick-on tints are more difficult and take longer to apply than spray-on auto tint, but if you do it meticulously, the outcome could be superior because you get an even tint.
The tints come in a variety of colours, including grey, green, blue, gold, and even a tint with a mirror-effect similar to mirror spectacles.
Legal Restraints
Due to the potential for reducing the driver’s vision, there are regulatory restrictions on tinting the front windscreen. Any tint you put on the front windscreen is legally required to let at least 75% of the light through. Additionally, due to the risk of blinding other vehicles, mirror tints cannot be used on the front windscreen.
Although you can add a thin tinted strip to the top of the windscreen, it is better to avoid tinting the front windscreen if you are unsure. Pick one that gradually disappears
Tinting Car Windows
Stick-on sheets require that you work in a warm, dry location away from direct sunlight in order to achieve a decent finish. The correct circumstances are required for the adhesive to adhere properly.

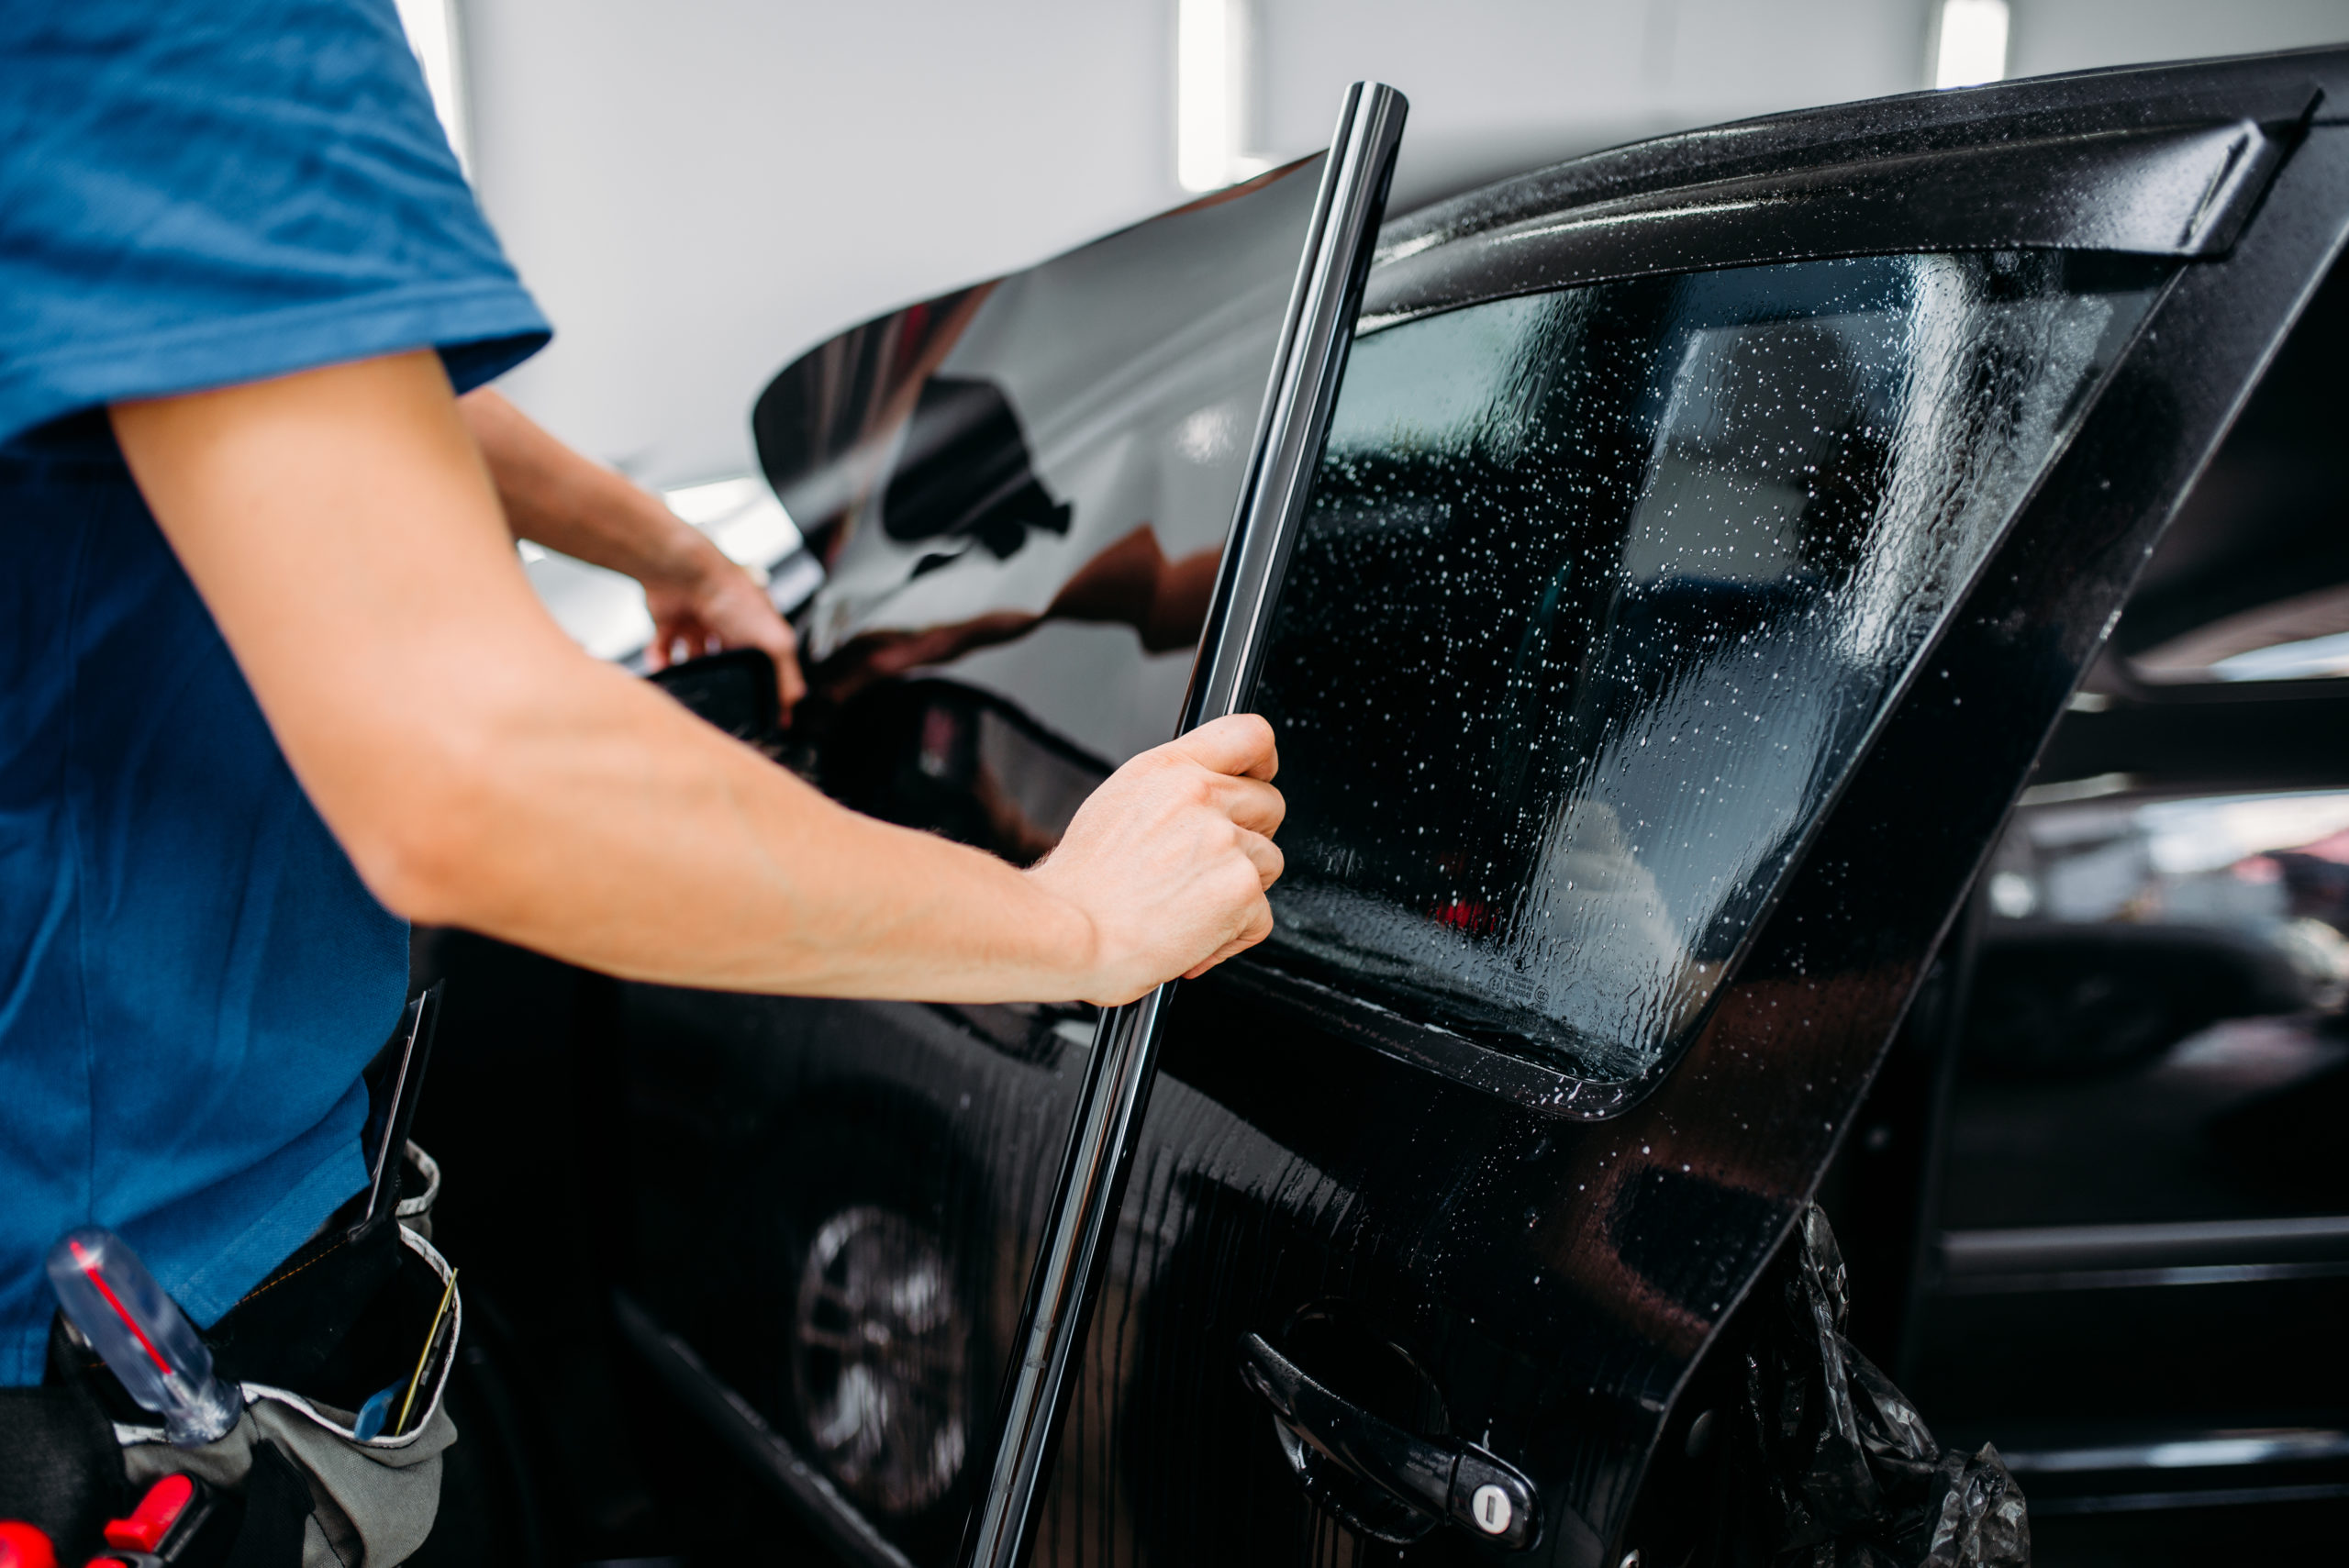
The interior of the window is covered with the tinting film. First, take off any window weatherstripping. On some vehicles, you can pry them out, but on many others, you need to take off the door trim panels that they connect to.
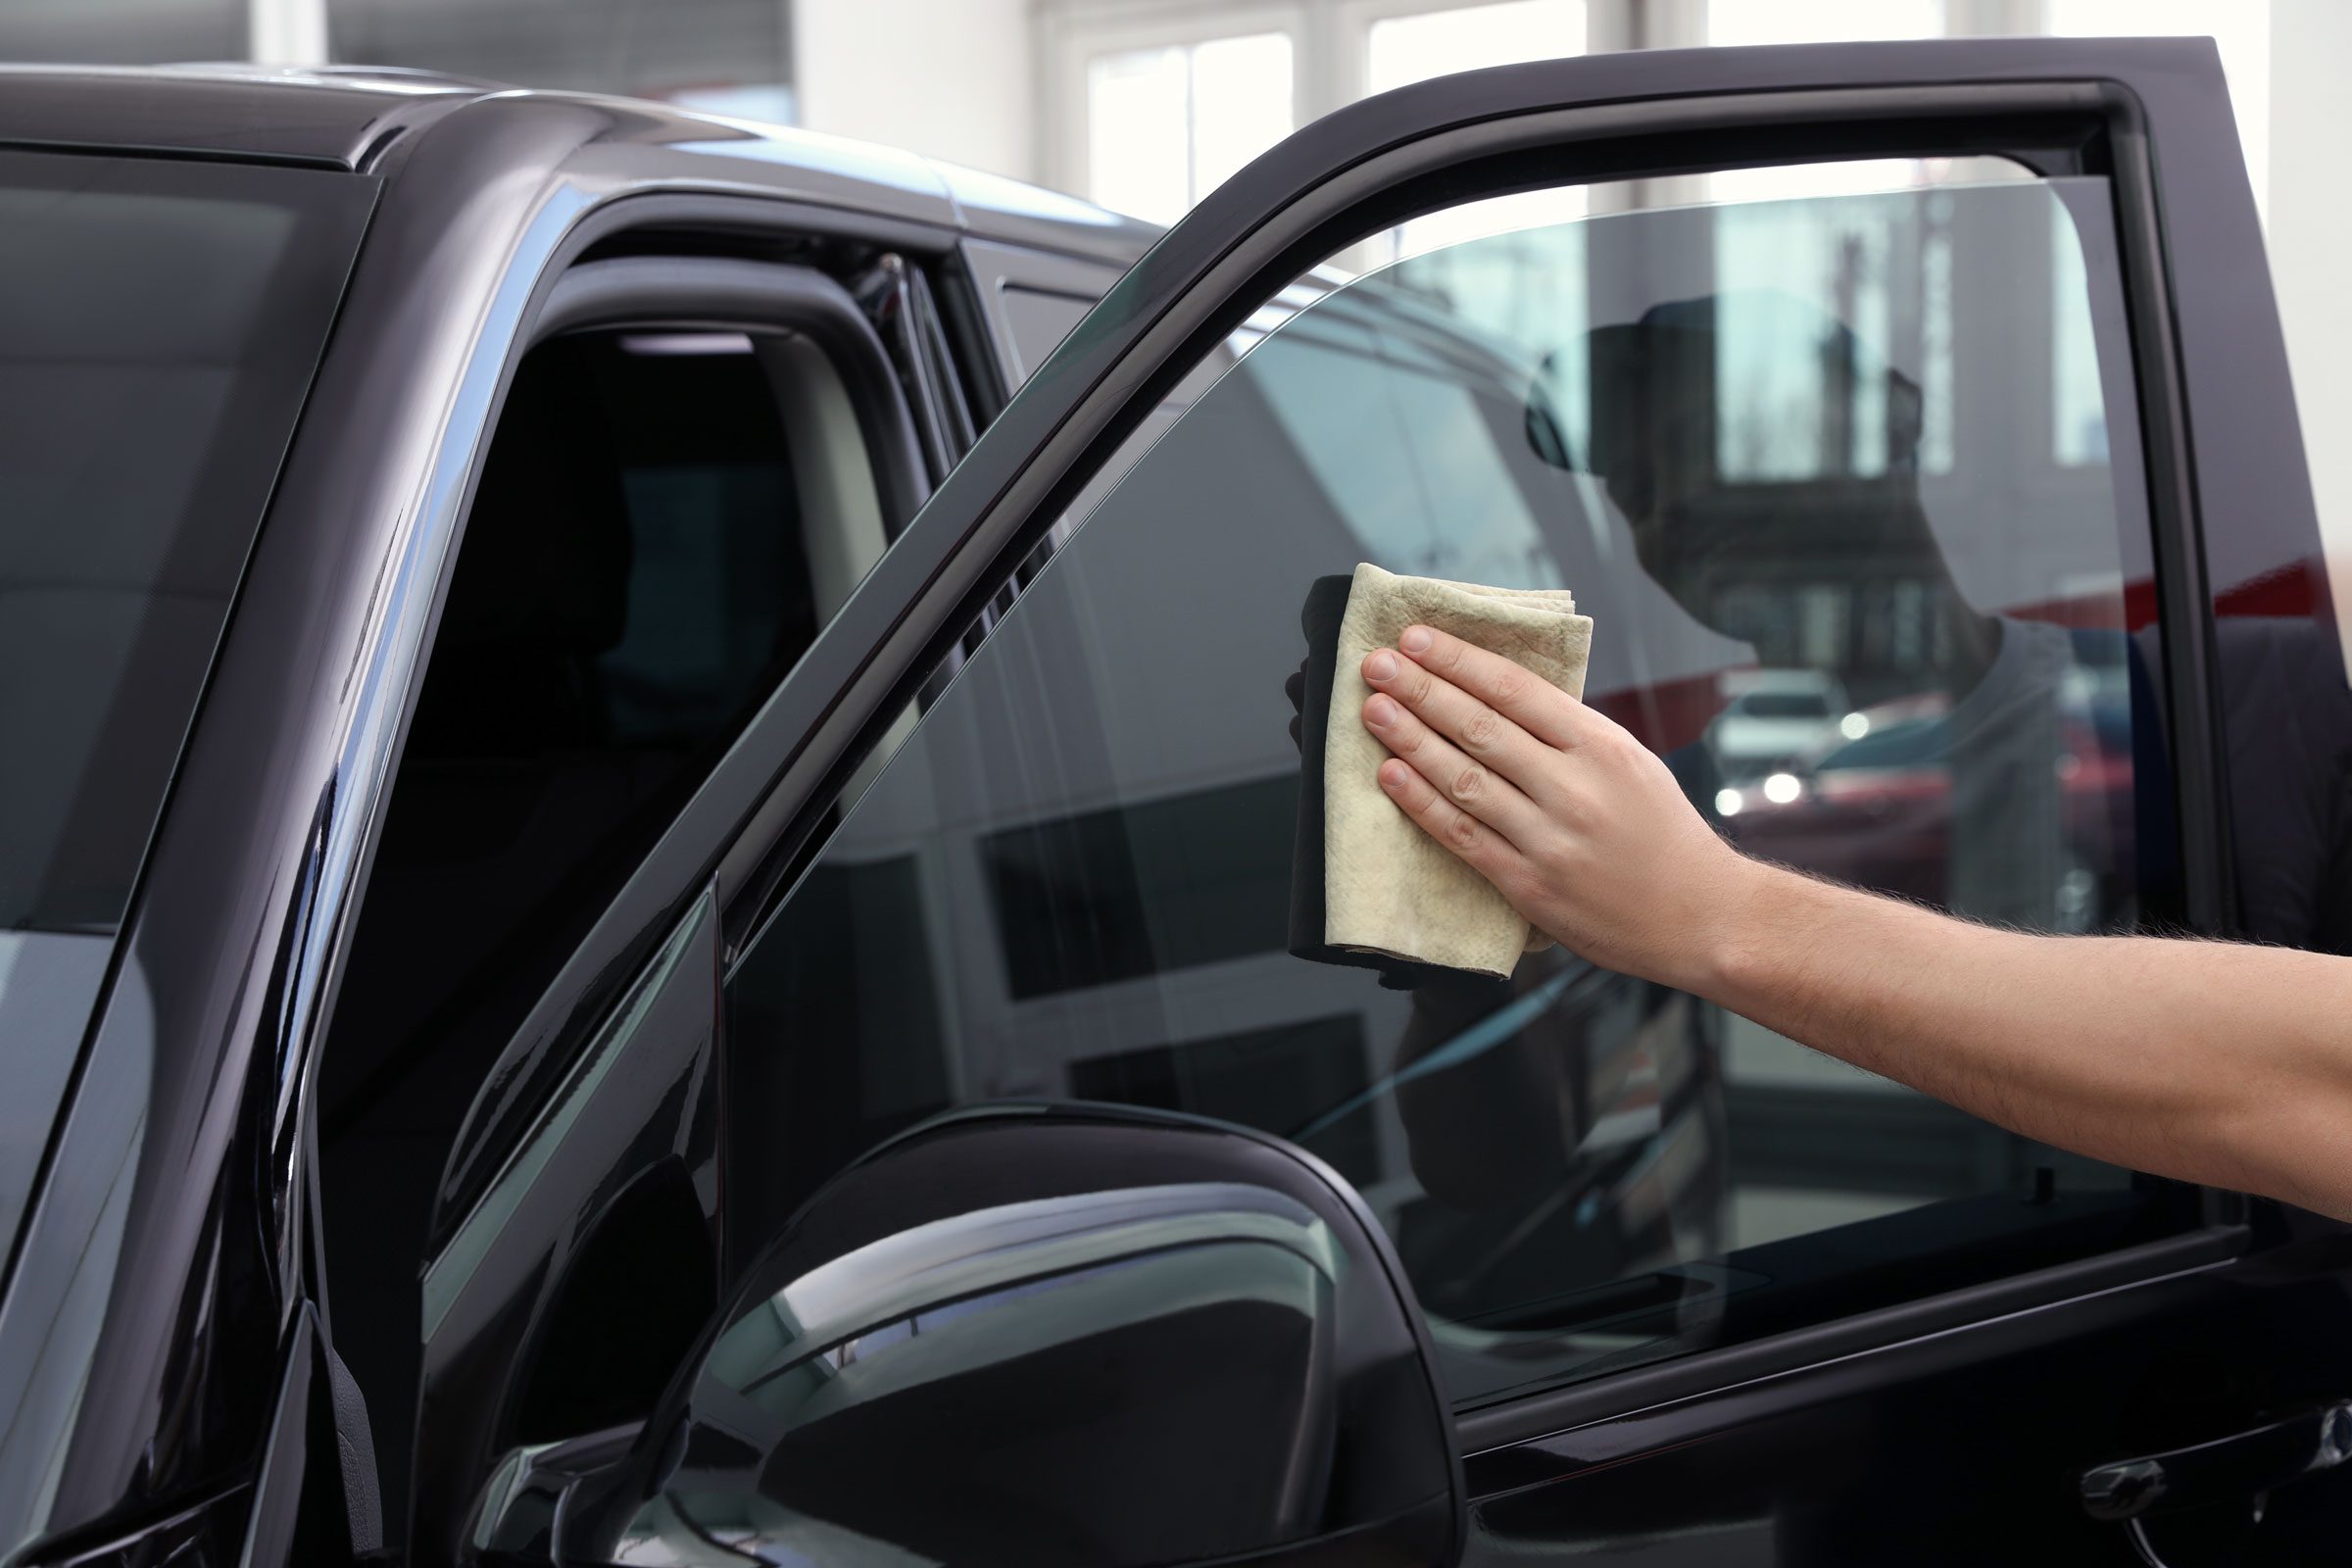
Remove all traces of dirt and grime by carefully cleaning the inside of the windows. Spray some water and washing-up detergent into a spray bottle to wet the window (see kit instructions). Wipe the window’s excess water with a squeegee before using a chamois leather to fully dry the glass.
Once the tint film is laid out and trimmed to size for each piece of glass, measure each window. A minimum of 1in (25mm) longer and Yin (13mm) wider than the frame should be cut from the film. Make sure you cut the appropriate shapes with the proper orientation for each side because only one side of the paper is adhesive.
Peel the plastic backing covering the tint film’s sticky side off with caution. Spray the window and the film’s adhesive surface with the solution from the spray bottle. Put the film in place on the window with the glue facing the glass. Ensure that the film completely encloses the window.
By carefully pulling at the edges, spread the film out on the glass. With a craft knife, remove any extra film. Trim the film so that it is 1.5mm less thick around the borders than the glass. Once more wet the film, remove anTo seal the tint firmly to the window, carefully apply a thin coating of non-yellowing nail polish around the film’s edges. Before winding the windows up or down, let the film fully dry; this usually takes a few days. Once the film has dried, replace any weatherstripping.
Spray-on Tint
If you plan to use the spray-on tint, commence by thoroughly cleaning the glass to remove all debris, grease, and grime. Cover adjacent bodywork, upholstery, and trim with a lot of newspaper and masking tape to protect them from the spray.
Cover the control panel and dashboard as well. When blocking, take care to create a sharp ‘edge’ on the glass. To cover the upper edge of the glass, slightly lower the window’s sash. Once dry, wind the window just a little bit up to cover the bottom border.


/GettyImages-932632502-d3c8d3de9b8f45c98718004d0da75eaa.jpg)